Six Steps: Making Wax Starter Strips
Step One in making wax starter strips is melting pure bees wax. It is preferable if you can melt it in a shallow, wide pan. Do not let the wax boil. If it boils it will destroy volatile ketones. These ketones give wax its fragrant smell. The more fragrant wax is, the better it is for drawing occupations.
|
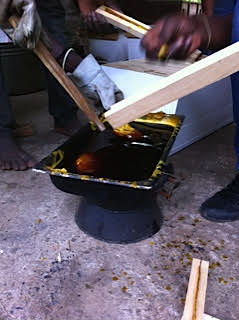
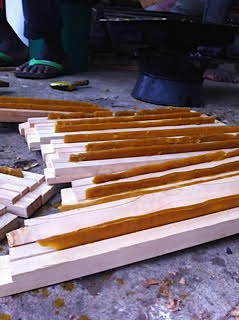
Step Two is using dipping boards made of hard wood with nails or screws affixed to hold on to as handles. These boards are best made 3 inches wide and the length of your top bar. After waiting a few minutes for your hot wax to cool, dip the boards in the wax over and over again allowing time to cool in between. Wax will start to build up on the boards.
|
Step Three is to let wax build up on the dipping boards by dipping them in the wax at least 7 times. These boards are cooling before the next step.
|
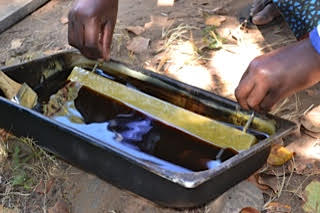
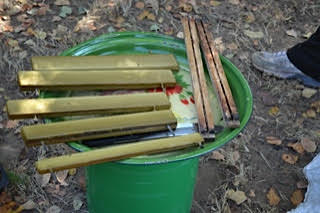
Step Four takes place after the wax cools. Cut lengthwise down the center of your dipping board, then go back and remove the two strips of wax separately. It is best to have a sharp knife for the task. If the dipping boards are allowed to sit in water before you begin dipping it will help the wax to release from the board better. These are what is referred to as bees wax starter strips.
*Note: Each 3 inch dipping board will make 5 starter strips if you count the bottom strip. |

Another picture of Step Four: Removing the wax from the bottom of the dipping board.
|
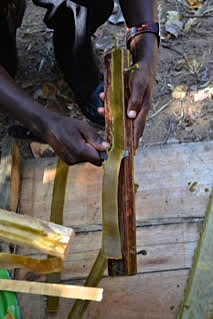
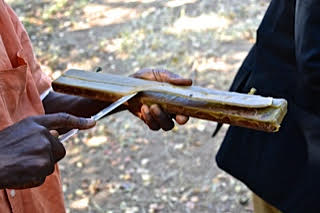
Yet another picture of Step Four: Removing cooled wax from the dipping board.
|
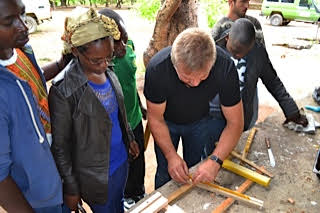
Step Five is putting wax starter strips in the groove on your top bars. If using starter strips in your hives your top bars should have a channel cut down the center for the placement of the wax. The bees will find this wax and build their comb off of it. Remember, the bars should be 32 mm wide. This will allow for bee space in the hive.
|
Step Six is finished starter strips in the grooves on the top bars of a hive. Melted wax can be used to adhere these strips to the grooves. They can then be placed in the hive ready for taking to the field. Your hives will then be ready to get occupations. The bees will build their comb on each bar following the strip. When harvesting, leave a centimeter of wax comb so they can rebuild easily without confusion.
|
