12 Steps: Honey From Hive to Table
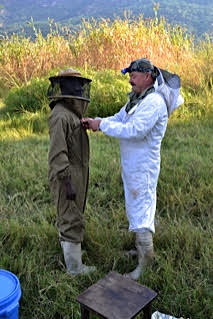
Step No. 1: Use buddy system to check all suits. African bees are not known for their mercy.
|
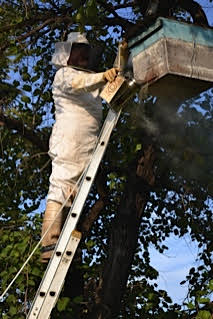
Step No. 2: Smoke your hive. Wait three minutes or so for the bees to calm by consuming honey from open comb.
|
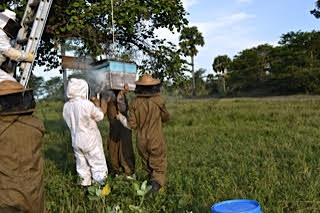
Step No. 3: Lower your hive and relocate it to the harvesting table.
Note: It is helpful if you carry the hive 20 or so meters away from the tree or apiary. Returning foragers will have a harder time finding you upon their return to the colony. |
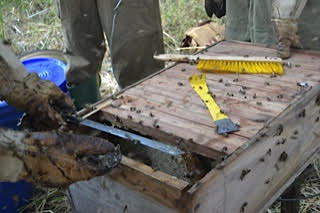
Step No. 4: Remove the top of your hive. If a top bar variety, open from the back away from the doorway. Allow smoke to drift in moving the bees from the opening. Notice the ripened comb visible.
|
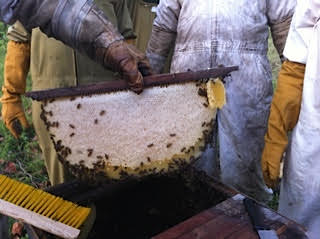
Step No. 5: Harvest combs of capped honey. When you harvest, cut the combs free with a sharp knife leaving a centimeter of wax cappings so the bees can rebuild.
|
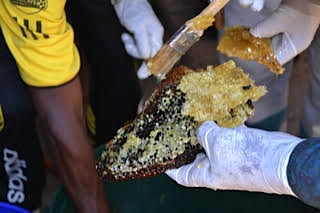
Step No. 6: Clean honey comb of any bees. Remove any brood or pollen…prepare comb for pressing.
|
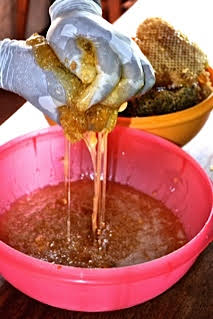
Step No. 7: Wash hands and arms and put on latex gloves. Press, crush firmly removing all honey from comb. Place remains in a bucket to later render wax.
|
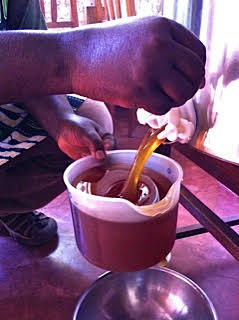
Step No. 8: Roughly filter pressed honey, preparing it for the settling tank.
Note: These filters are available in all marketplaces. |
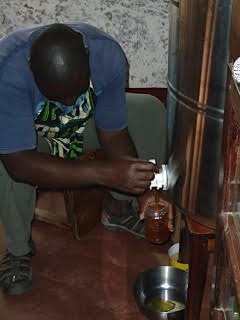
Step No. 9: Pour all filtered honey into a settling tank with a food grade gate valve affixed to the bottom of the tank. Honey will “filter” itself as all lighter material will float to the top. In 24-48 hours pure, clean honey will flow from the gate valve.
|
Step No. 10: Take honey from settling tank to fill your jars.
|
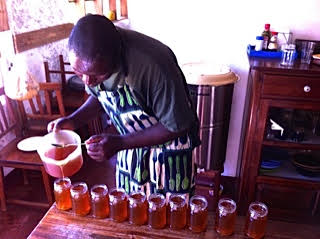
Step No. 11: Fill your jars, preparing them for market. We find that using a pitcher to fill our jars is better, easier than filling them directly from the settling tank.
|
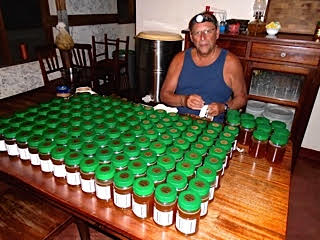
Step No. 12: Design stickers with your organization's logo on them to attract buyers. Be sure that the stickers are all put on correctly (straight and true).
Note: Buyers are looking for a perfect, clean looking product. |
